Good morning, I hope you're having a lovely week. And if you're not, maybe a project would help!
Over the winter I bought a pair of TOMS shoes online and stashed them until them the weather got nice. Since I pulled them out I've worn almost nothing else! They really are as comfortable as everyone has said and I'm already a little worried about that inevitable day when they've worn out. And they will, there's nothing to them. They are canvas with a foam bottom.
Which is why I will also never pay full price for them. But they are REEAALLY comfortable. So I'm going to make some. This is my first attempt at getting the shaping right. If you have any tips or ideas about what to use for a sole, or on getting the upper more structured, let me know in the comments.
Also, I apologize for the grainy pictures. London has been using my camera and she must have clicked through to the menu because when I transferred the pictured to the computer I realized the pixel setting was at the absolute lowest option. Oh well.


I started by rolling the shoe across a piece of paper and following the shape with my pencil as it went. it gave me this outline, which turned out to be too big, but we'll get to that later.

I cut my pattern piece out of canvas and started pinching it around my foot to see where the darts should be...

... then I pinned the darts in place.

I marked the fold where the dart started and where the fold lay against the fabric.

then I unpinned the darts and marked my points on my paper version so I could recreate it for the other shoe.

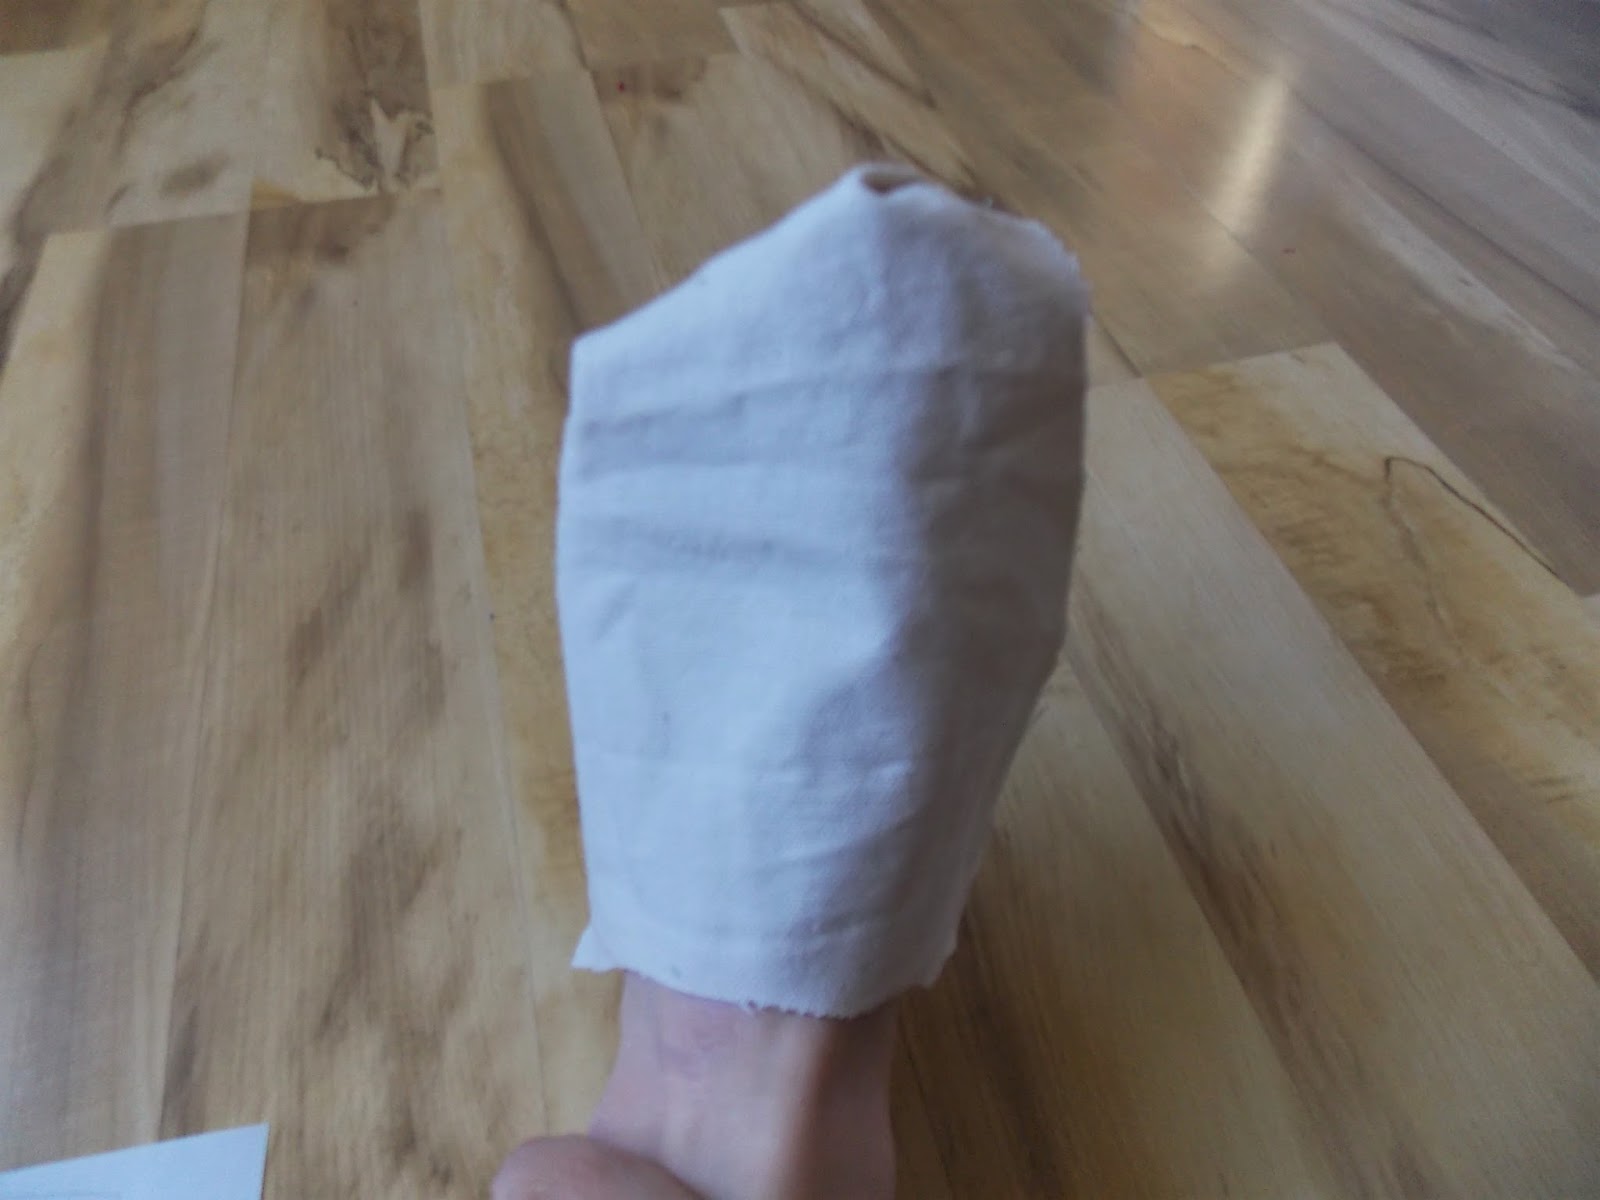
I put the darts back in and top stitched them into place. Here's my toe box!

I folded the raw edge under the stitched it in place

I did the same tracing technique for the heal piece and this is what I came up with. I folded and stitched the top edge.

Then I draped both pieces onto my foot making sure the toe box wasn't pulled too tightly back and pinned the heal to the top at their intersection.

The bottom of the heal was obviously going to be a little floppy so I put a small dart there as well. Then I stitched along the side seams and the instep seams and hold the front and back parts together.

I traced the bottom of the shoe with a little extra room for a seam allowance and pinned the upper pieces to the sole and stitched all the way around.

There is obviously a little extra going on around the back of the heal...

...and the outside edge of the toe box

so I turned it inside out and ran a pencil along my toe line....

... and my heal. I stitched along these lines and then clipped off the extra. *MISTAKE # 1 - This extra flab turned out to be caused by extra TOP material, not just largeness in general. When I stitched along this line it brought in the sole outline as well which made the sole too small. Next time I will be more discerning about where the excess is coming from and if it's only from the top I will tear out the stitching and pull the upper fabric tighter against my foot instead of altering the sole outline as well.(please excuse the weird looking scar on my ankle.)

Not bad! The pattern for the front upper turned out to be too big, which made the darts deeper than they needed to be. I'll have to work on getting it a tad more snug depth-wise. And I will be ruminating for structure ideas. If I lined it with an inside-out version of it's self it would cover the raw seams inside and add some extra shape, but I'm not sure I want them any thicker. It's the minimalism that I like so much. Perhaps leather would hold it's own...
And the sole. Should I hijack a cheap pair of flats and use the rubber? Perhaps contact cement it to my own shoe?
I'll keep you updated.
No comments:
Post a Comment